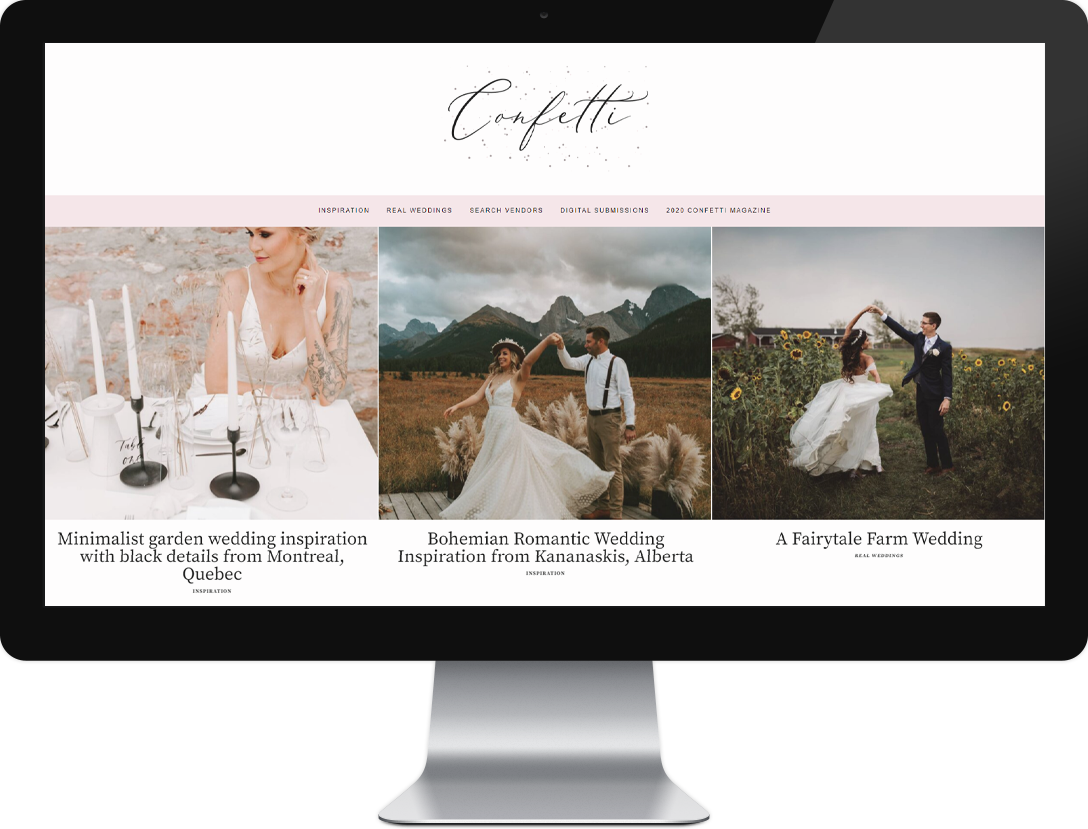
Google Analytics Advanced Segments

1

I’m sure most if not all of you know about the awesome tool that is Google Analytics.  It’s FREE, there are multiple wonderful plugins to integrate it with Wordpress (I use Yoast’s plugin), and when used correctly, it allows you to track all kinds of interactions with your website.

One of the easy features to implement is the Advanced Segment feature.  Advanced Segments require no updates to the Analytics code on your site, only a little bit of configuration within Google Analytics.  I use Advanced Segments for a variety of things, but one important use is to track how readers from a specific referring source interact with your website.

So let’s say I want to see how readers from Google interact with Elizabeth Anne Designs.

First, log in to Google Analytics and access your website profile.

On the left sidebar, click on Advanced Segments.

Click ‘Create new custom segment’.

Under Dimensions expand Traffic Sources.  Drag and drop Source into the dimension or metric box.  Leave the condition as Matches exactly and in the value field type google.com.   Name your segment Google and click Create Segment.

Now, navigate back to your Google Analytics Dashboard.  In the top right, there is a dropdown for Advanced Segments.  In the dropdown, place a checkmark in your new Google segment and click Apply.

Your Dashboard will now show you how “All Visits” and “Google” stack up to each other!

Now to take it even further, let’s say you sell a product and have a checkout page on your site.  If people successfully check out, they are taken to a “thank you” page.  That thank you page represents your sales conversion page.  With Advanced Segments you can now see how many visitors from Google are converting into sales.

Navigate to Content -> Top Content.  At the bottom of the table, in the Filter Page field, type /thank-you/ (or the URL of your order success page) and click Go.

Voila! Data showing you how many sales conversations you received from Google visitors.  Of course, this is also useful for other page views, such as how many visitors are viewing your contact page, and other referring sources, such as external advertising you might purchase.  And soon, we will talk about Google Analytics Event Tracking and how to combine Event Tracking with Advanced Segments – which is where the real fun comes in!

So have I inspired you to try out Advanced Segments?  How will you apply them to your site analytics?

Images In Blog Posts: The Technical Side

11

We’ve talked about the legalities and etiquette of images in your blog posts.  Today, let’s chat about some of the technical things you should know when blogging images.

Size matters

High resolution images are a no-no.  Not only will it kill the speed of your site to host high resolution images, but it’s also bad blogging etiquette.  For best results, size images to no more than 500kb (and less is preferable).

Because most people are viewing your site on a widescreen monitor, portrait/vertical photos should be sized to about half of the width of landscape/horizontal photos.  This will help to keep the file sizes smaller, as well as keep each image within the viewable area of everyone’s screen.  For aesthetic reasons, this is why many blogs choose to “pair up” verticals in their posts.

Use Wordpress’s built-in Media resizing functionality to help you out with resizing.  Under Settings -> Media you can supply a thumbnail size, a medium size (I use this for vertical images) and a large size (horizontal).  As you upload photos, Wordpress will automatically create copies of the image resized to each of your specified dimensions.

What\'s in a name?

A lot actually.  Search engines can’t “see” images, they simply recognize the caption (aka alt text), title, and image name and read those to index the image.  Name your images something descriptive and Wordpress will automatically fill in the alt text and title with your image name.

When deciding on a file name, put yourself in the shoes of the searcher. “Juli and Jon Wedding” likely won’t produce any search hits. But “Yellow Sunflower Bouquet” might.

A helpful hint

If you find a photo on a blog and want to use it for your own blog (with the appropriate credits and permissions of course), it’s likely that the photo size won’t be exactly what you need for your blog. Wordpress and Blogger both have ways of “hiding” the original photo source of a full-size photo. These little shortcuts may help you find a larger photo to meet your needs:

Wordpress puts the sizing at the end of the photo name. Removing the sizing produces the full-size photo.

http://www.elizabethannedesigns.com/blog/wp-content/uploads/2010/06/Retro-Dessert-Table-249×375.jpg

becomes

http://www.elizabethannedesigns.com/blog/wp-content/uploads/2010/06/Retro-Dessert-Table.jpg

Blogger on the other hand, embeds the sizing within the URL. As with Wordpress, removing one little section produces the full-size photo.

http://4.bp.blogspot.com/__udAgyKza48/SpxravhrAmI/AAAAAAAABVo/VcllvgzGBfs/s400/snapdragon-flowers.jpg

becomes

http://4.bp.blogspot.com/__udAgyKza48/SpxravhrAmI/AAAAAAAABVo/VcllvgzGBfs/snapdragon-flowers.jpg

My favorite image plugin

And last but not least, if you have an image-heavy Wordpress blog, here is a plugin that you will love me for (seriously). It’s called Faster Image Insert.

Wordpress by default allows for the uploading of multiple images at once, but the insertion of only one image into a post at a time. This plugin fixes all of that and allows you to insert multiple images into your post with one click. If it’s compatible with your version of Wordpress and the other image plugins you may have installed, I definitely recommend giving it a whirl on your test site and seeing if it’s a fit for you!

What other image tips and tricks do you have to share?

Engage!10 Conference

28

If you follow me on Twitter, you know that I was fortunate enough to attend the Engage!10 luxury wedding business summit at the Ritz-Carlton Grand Cayman last week. Created and produced by Rebecca Grinnals and Kathryn Arce of Engaging Concepts, the event was a chance to connect with many amazing friends, both old and new, in the wedding industry.

I posted a recap with some beautiful images of the conference and the Cayman Islands over on Elizabeth Anne Designs, but here on Edit and Post I wanted to delve into just a few of the recurring themes from the conference and my insights and takeaways based on the panel discussions and conversations with other attendees.

Set goals, but know that you must adapt to survive

On the very first day in the very first panel discussion, Harmony Walton posed a question to a small group of us: “Where do you want to be in 10 years?”  I sat there, relatively clueless, awaiting my turn to answer and wondering what the hell I’d say.

Because the truth is, I HAVE NO IDEA.

And you know what? I am OK with that.

During the past ten years my life has changed in ways that were both completely expected and incredibly surprising.  I love the thrill of the unexpected.  I thrive on change, constant revision, and self-examination.  I came away from Engage! with several budding ideas of ways to change my business, and if I had a “goal” that I was single-mindedly set towards, I may not have been open-minded to these new strategies.

Know that the wedding industry is changing faster than we can even realize.  Are you ready to change with it?

You are selling your talent and your vision - not yourself

So many of the conversations that I participated in throughout the conference centered around growing your business when you provide a personal service. One conversation went like this:

Her: “I went back to work 5 days after having my baby because my clients needed me.”

Me: “Don’t you have a team working with you on the client’s wedding?”

Her: “Yes, but they only wanted me.”

Me: “Then you’re doing something wrong.”

So I tend to make blunt statements and brash generalizations, but here is my point (which I clarified to her during this conversation).  There is only so much of you to go around.  If you are giving a little piece of yourself to each and every client, soon you won’t have anything left.  This is when burnout occurs.  This is why businesses become stagnant.

I’m guilty of this – we are all guilty in one way or another – but it’s so important to keep perspective in an entrepreneurial business. In order to grow, you must find, train, and give creative control to your team.  You must trust them.  If you don’t trust them, how will your client trust them?  And if your client doesn’t trust them, how will you be able to let go and focus on growing your business?

Are you giving a little piece of yourself to each of your clients?  How many pieces do you have left?

What makes my business different?

One of my personal action plans from the conference is to put a great deal of thought into diversifying my business from the rest of my industry.  Perhaps because it was so applicable to me, this subtle thought stood out to me as a conference “theme”, if there is such a thing at Engage!.

What am I doing to differentiate my business?
In the first moment of interacting with my business, do you see what I want you to see?
How do I stand out from the crowd?

If you are in the wedding industry and are considering attending an Engage! event, I would definitely recommend it. Engage! is not a “how to” or “what to” conference. Rather, it is a thought-provoking environment that allows you to connect with like-minded industry professionals and gives the opportunity for reflection on your business.

More recap posts on Engage!10: Jasmine Star, Liene Stevens, Harmony Walton, Sean Low

Breaking Down a Wordpress Theme

7

This post is part 7 in the series \

By far the most common question that I have received from ya’ll since starting Edit and Post is “How do I make my blog look the way I want?”.  Now that you have installed Wordpress and know how to install Wordpress plugins, it’s time to start learning about themes.

Themes hold files that tell the browser what to display and how it should look.  If you remember from this post, PHP gets turned into HTML and that tells the browser what to display.  In coding language PHP = “get”.  CSS tells the browser how the html you have coded should look.

Wordpress comes installed with several themes, including the Default theme.  Let’s take a look at the files in the Default theme and see what they do.  Don’t worry if all of this is very confusing now!

PHP files control what is displayed

index.php – Displays your main blog page.  Includes PHP calls for all of the files that control how your main blog page is displayed.

header.php – The header file essentially sets up the page and includes PHP calls to “get” the CSS files for the theme, the blog information and title from your Wordpress options, and your header image.  It also calls Wordpress itself from your server and includes the opening html for the body of your page.  There can be lots more included in here (and we’ll get to that when we talk about more complex coding).

footer.php – “Closes” your page in the browser.  Calls the Wordpress footer.  Also includes any credits, copyright info, etc that you want to display.

single.php – Displays a single post.  Includes PHP calls for all of the other page elements that you display on a single post.

comments.php – Displays the comments for a post.  This file is typically only called from single.php.

archive.php – Displays category, tag, and date archives, as well as any other kind of archive you might have on your site due to some advanced coding.  Includes PHP calls for all of the other page elements that you display on your archive page.

404.php – If someone is searching for something on your site and goes to a permalink that doesn’t exist, they will see this 404 page.  Includes PHP calls for all of the other page elements that you display on your 404 page.

archives.php – Displays a list of your archives by month and subject.  Includes PHP calls for all of the other page elements that you display on your archives page.

comments-popup.php – If you want comments to display in a popup window, this file will be used to control what is displayed in that window.

functions.php – A super-important file that you don’t want to edit until you know what you’re doing.  :)  functions.php basically performs like a plugin, and any php code in here will be executed when you call the function from your other template files.

image.php – Displays a single image and includes PHP calls for all of the other page elements that you display on a single image.

links.php – Displays your blogroll links.  Includes PHP calls for all of the other page elements that you display on your blogroll links page.

page.php – Displays a Wordpress page and includes PHP calls for all of the other page elements that you want to display on that Wordpress page.  This file usually looks a lot like single.php.

search.php – Displays search results and includes PHP calls for all of the other page elements that you want to display on the search results.

sidebar.php – Displays the sidebar widgets that you have defined; if no widgets are defined, displays a default sidebar.

CSS files control how things look

style.css – a theme’s stylesheet is where the CSS for a theme is held.  Themes can have one or many stylesheets.  CSS is pretty complicated, so for right now know that each little section of CSS is called a div, and div tags control how whatever is inside them is displayed.

rtl.css – If you are publishing in a language that reads right to left, this stylesheet will be used.

English, please?

Let’s look at an example and maybe this will start to make more sense.  Remember single.php?  It’s the file that displays your single post page.

single.php is going to start by doing a PHP call for header.php. Remember, the header.php has already called in all of your stylesheets and Wordpress itself.

<?php get_header(); ?>

Each section of your page is styled using div tags.  The header.php file probably had several div tags to display your header image, menu bar, etc.  In single.php the main content of your page is also enclosed in a div tag.  Let’s call it “content”.  When you include a div tag in your php file, Wordpress will look in your stylesheet for the div tag name and display the results using the CSS assigned to that tag.

<div id=”content”>

Then it is going to ask the Wordpress database for the data from the post itself.  This is an if statement in PHP, because if no post exists you want to include a message saying that no post exists.

<?php if (have_posts()) : while (have_posts()) : the_post(); ?>

Once it knows what the post is, you’ll want to format it accordingly.  So perhaps you have a div tag for your post header that you surround the post title with.  Because that is the only thing you want to format as a “title”, you will then close the div tag.

<div class=”post_header”>

<?php the_title(); ?>

</div>

Now that you have displayed the title, you want the content.  You probably have some styling for this, let’s call it “entry”.

<div class=”entry”>

<?php the_content(); ?>

</div>

Then you want to include your comments.php file.

<?php comments_template(); ?>

Now let’s close the if statement from above and tell Wordpress what to display if no post exists, and once that is done we are done with the “content” so we will close the div.

<?php endwhile; else: ?>

<p>Sorry, no posts matched your criteria.</p>

<?php endif; ?>

</div>

Lastly, we’ll call the sidebar and the footer.  Remember, the footer closes the page, so after the footer is called, single.php has done its job.

<?php include(TEMPLATEPATH . ‘/sidebar.php’); ?>

<?php get_footer(); ?>

This is a lot to wrap your arms around but I hope it’s starting to make some sense, because we’re going to be talking a lot more about themes as we start to edit each of the theme files, make new theme files, and add in awesome new functionality!

Any questions so far?

Using Images In Blog Posts

13

Some of the common questions as people begin blogging are about images: how to credit them, what are the copyright regulations, and general proper blogging etiquette.

Images and the Fair Use Doctrine

First up, the legal stuff: images are copyright to the photographer. Unless you have received permission from the photographer, or they have licensed their work for creative commons, you are using any images you post under the US government’s doctrine of “fair use”.

You should read this short page for the complete information about fair use but to paraphrase, if you are using an image for the purposes of illustration or comment, are not using all or substantially all of the author’s work, and clearly notate the copyright owner of the work, you are falling under “fair use”.

As you can see on the copyright office’s page, the entire fair use area is gray. Here are a few things that are absolutes:

  • Getting approval from the owner means you are in the clear to use the image.
  • A creative commons license (which many bloggers who take their own photos provide in the terms and conditions of their site) means you are clear to use the image.
  • If the owner of an image asks you to take it down, take it down.  Period.
  • You should ALWAYS, ALWAYS, ALWAYS credit the owner/photographer.  Even if you have permission.  Even if it’s creative commons.  Unless it’s something like a stock image you have purchased, this rule should be followed 100% of the time.

Blogging Etiquette

If you are a blogger yourself, it is a great idea to have a policies or terms page on your site, telling your readers whether or not they are free to use the photos (and content) that you have posted and in what manner.

When you post images that you do not own, I think it bears repeating that you should always credit the photographer.  You should also credit the source of the information (where you found it), and any sources that they have named.  For example, I posted an image last week on Elizabeth Anne Designs that I found through the blog Little White Book.  She found the image via the Ruby Press blog.  The original image was from the blog Matt Bites, who is the original owner of the photo.  So my full credit was: image by Matt Bites, via Ruby Press and Little White Book.

It doesn’t cost anything to be nice and give credit where credit is due, so pretty please be nice and link to everyone who helped you find the image!

Other bloggers and photographers, do you have tips to share on image etiquette or guidelines for usage?